How I added dagger.io to my personal website

I wanted to have the ability to run CI/CD pipelines on my local, and I decided to go with Dagger.io. It offered more than just what I needed, so I decided to use it for my personal website. This article explains how I integrated Dagger.io.
Requirements
My website is built with Gatsby, a popular tool for creating static websites. I have scripts in the tools/scripts/actions folder that handle checking code quality, building the website, and deploying it to different environments.
To streamline development, I follow a "Trunk Based Development" approach. Here's what that means:
- Any code pushed to the main branch (
main) gets deployed to the development environment. - When a pull request is merged into a
release-<version>branch, it gets deployed to the staging environment for testing. - Finally, when I create a release (by tagging a commit), the website gets deployed to the production environment, making it live for everyone.
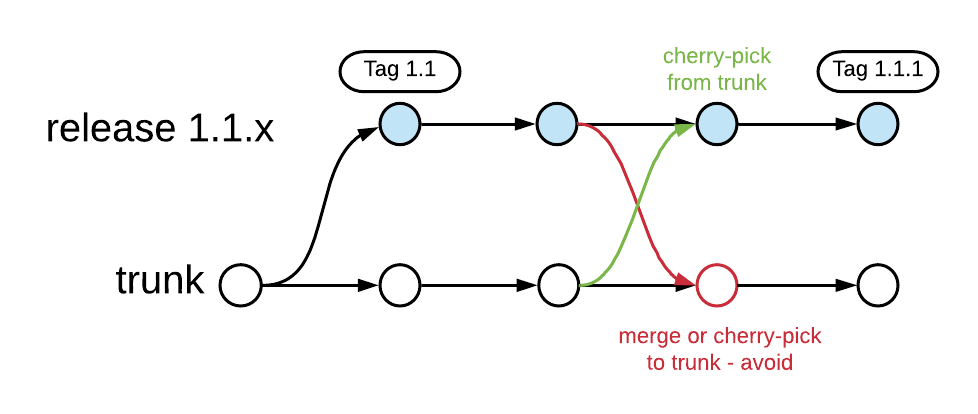 Image from convincedcoder.com
I use Github Pages for hosting, it dones't allow me to have separate environments for development, staging, and production. So, I have to use different repositories for each environment:
Development: https://dev-n8v.github.io/Staging: https://stg-n8v.github.io/Production: https://ndthanhdev.github.io/
Now, let's see how I added dagger.io to my personal website.
Initialize dagger
Before using it, you'll need to install it. There's a handy guide available on the Dagger website.
Once you've got Dagger installed, let's set it up in your project. Here's what I did:
cd <my-repo>

mkdir dagger
cd dagger

dagger init
Instead of running dagger init in the root directory, I created a new directory dagger and ran the command there. This approach keeps your project clean and separates Dagger-related files from the rest of your code.
Prepare the Dagger Functions
Before we dive in, let's talk about Dagger Functions.
...Dagger Functions are regular code, written in a supported programming language, and run in containers. Dagger Functions let you encapsulate common operations or workflows into discrete units with clear inputs and outputs...
You can find more about Dagger Functions from it's official documentation.
In my implementation, I built an Init function to install things my other functions need. This saves me time and keeps my code cleaner.
func (m *NdthanhdevGithubIo) Init(ctx context.Context, dir *Directory) *Container {
	source := dag.Directory().WithDirectory("/", dir, DirectoryWithDirectoryOpts{
		Exclude: []string{"node_modules", ".cache"},
	})

	return dag.
		Container().
		From("node:lts").
		WithExec([]string{"yarn", "global", "add", "tsx"}).
		WithMountedDirectory("/workspace", source).
		WithWorkdir("/workspace").
		WithExec([]string{"yarn", "install", "--immutable"})
}
You can notice that I use a dir parameter to pass the directory to the function. Dagger requires all read/write operations to the host filesystem to be done through commands.
Next, I created functions named Lint, Test, Build, and Publish to handle those specific tasks. You can find the code for these in the dagger directory of my repository, if you're interested in seeing how they work.
Once you have these functions set up, you can easily test them on your own machine by running the following command.
dagger call build \
--dir ../ \
--mode "dev" \
export --path ../app/public
Integrates with Github Actions
Getting the website live involved building everything and then publishing it. To make this process smooth, I created scripts in a folder called tools/scripts/pipelines. These scripts simply run the build and publish functions in the right order, one after the other.
await $`dagger call build \
--dir . \
--mode ${$.env.MODE ?? "dev"} \
export --path ${workDirs.apps.app.public.path} \
`;

await $`dagger call publish \
--dir . \
--token env:GH_TOKEN \
--mode ${$.env.MODE ?? "dev"} \
`;
Now that I had the scripts ready, I needed to set up Github Actions to run them. I created a new workflow file in the .github/workflows directory and added the following code:
name: Release Dev

on:
  push:
    branches:
      - main

jobs:
  call-function:
    name: Call function
    runs-on: ubuntu-latest
    steps:
      # ...

      - name: Call script
        working-directory: ./etc/scripts/pipelines
        run: ./release.ts
        env:
          MODE: "dev"
          GH_TOKEN: ${{ secrets.GH_TOKEN_DEV }}
Notice that I'm using the dagge/dagger-for-github action to set up Dagger. This action is provided by Dagger and makes it easy to run Dagger functions in your Github Actions workflows.
Repeat the same process for the staging and production environments then you're all set!
Conclusion
Adding Dagger.io to my personal website was a great decision. It helped me streamline my development process and made it easier to manage my deployments. I hope this article helps you understand how to integrate Dagger.io into your projects. If you have any questions, feel free to open an issue on this repository.